

How to use license for PaperEngineer products
How to Use a License for PaperEngineer Products
This guide walks you through the full licensing process for PaperEngineer products (PaperPlus, PaperMEP, etc.) — from account registration to activating your license inside Revit.
Step 1 — Create Your Account
- Visit Paper Engineer and click Login.
- Enter your Email and Password. You can also sign in with a third-party provider such as Google.
- If you don't have an account yet, click Register to create one.
- Check your inbox for a confirmation email and click the verification link to activate your account.
Step 2 — Purchase a License
- Log in to your account at paperengineer.runasp.net.
- Navigate to the License section and choose the product you want (e.g. PaperPlus, PaperMEP).
- Select a license type:
- Trial — Free to get started. Contact us to request your trial license.
- Standard — Full access with a fixed subscription period.
- Lifetime — One-time payment. Unlimited access, forever.
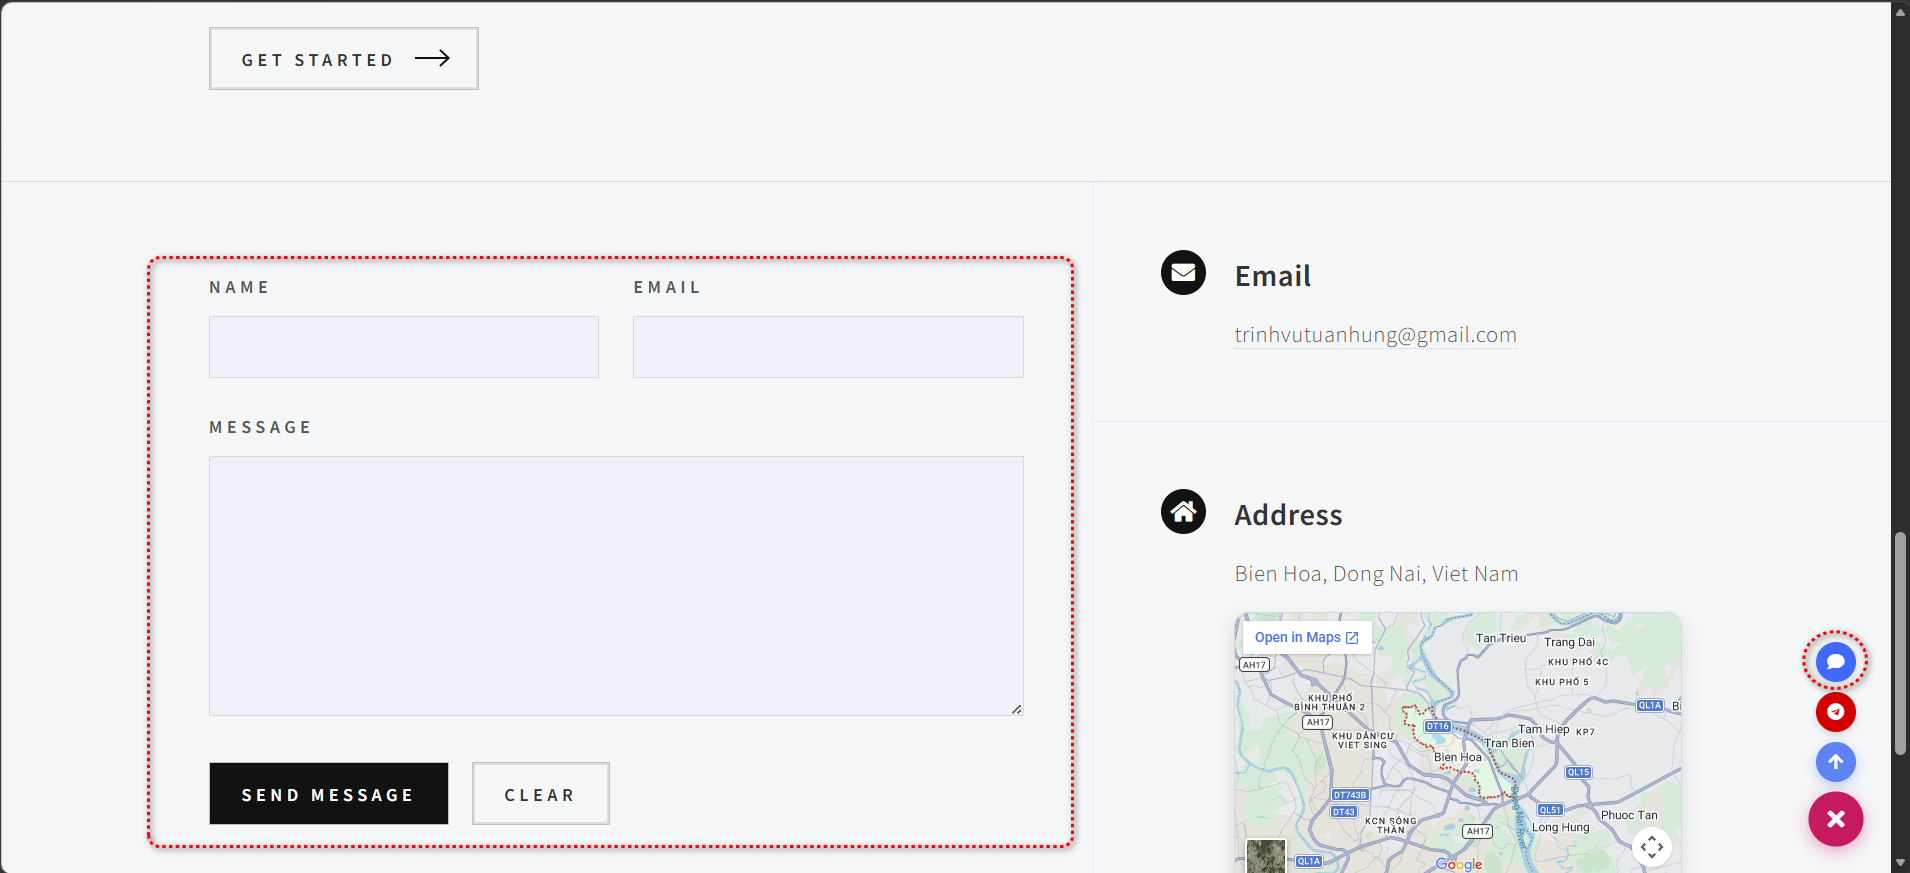
- For Standard and Lifetime licenses, please contact us for pricing and availability via the contact form or chat with us directly using the FAB button at the bottom-right corner of the page.
- Complete the purchase process.
Note: We do not currently have an automated payment system. Our team will contact you to confirm details and finalize the purchase personally. - Once confirmed, your license will appear in your account under My Licenses.
Step 3 — Activate the License in Revit
- Open Autodesk Revit with the PaperEngineer add-in installed.
- In the Revit ribbon, click the Product tab (e.g. PaperPlus), then click License.
- The License Manager window will open. Switch to the Activate tab.
- Enter your Email and Password (same credentials as your PaperEngineer account).
- Click Sign In & Load Licenses. Your purchased licenses will appear in the list.
- Select the license for the product you want to activate, then click Download .lic for selected product.
- The license file will be saved automatically. Switch to the Status tab to confirm it is active.
💡 Tip: After signing in once, your session is restored automatically the next time Revit launches — no need to sign in again.
Alternative — Activate by License Key
If the license list does not appear after signing in, you can activate manually:
- In the Activate tab, scroll down to the "Or enter your license key directly" section.
- Paste your License Key (found in your account under My Licenses).
- Click Download.
Checking License Status
Open the License Manager and go to the Status tab at any time to see:
- ✅ License validity
- 📋 License type (Trial / Standard / Lifetime)
- 📅 Expiry date
- 📧 Associated email
- 🔑 License key
Frequently Asked Questions
Q: Do I need an account to use PaperPlus?
Yes. An account is required to activate your license, access chat support, and use the product. Registration is free.
Q: Can I use the license on multiple machines?
Yes. Your license is account-bound, not tied to any specific machine. Simply sign in with your account on any computer — no device limit.
Q: My license list is empty after signing in?
Try signing out and signing in again. If the issue persists, use the manual license key input below the sign-in form.
Q: Can I transfer my license to another account?
Licenses are bound to the account they were issued to and cannot be transferred. Please contact support if you have a special case.
Q: I forgot my password. How do I recover my account?
Use the "Forgot Password" option on the sign-in page and follow the instructions sent to your email.
Q: Is an internet connection required?
An internet connection is required for the initial sign-in and license download. After that, your license is cached locally, so brief offline periods are handled gracefully.
Q: What happens when my license expires?
Licensed features in the Revit ribbon will be disabled. You can renew by purchasing a new license from the website.
Q: Where can I get support?
You can reach us via the in-app chat (requires account) or by using the contact form on our website.
Comments
Please login to post a comment.